

RemoteCall Provides Remote Technology Support For All
Interact with PC, mobile device, or on-site to connect remotely and troubleshoot issues.
Elevate IT Efficiency with RemoteCall
-

- Save Time
- No more costly travel expenses
and time-consuming on-site visits.
-

- Efficient Maintenance
- Deliver uninterrupted
IT solutions even with limited resources.
-

- Global Support
- Instantly connect with customers worldwide for seamless online assistance.
Trusted by businesses of all sizes and
globally recognized for its security


Why Choose RemoteCall
Unmatched StabilityFast and Uninterrupted Connections
- Connect swiftly to
any device, anywhere - Benefit from a network of relay servers
strategically positioned worldwide - Maximize stability and performance
through server redundancy - Adaptive Network Response
- Automatically reconnect during network
disruptions or when switiching between networks
Passed rigorous security tests by multiple customersGuaranteed Powerful Security Protocols
Safeguard Customer Privacy
Strict safety measures are enforced to protect customers, such as support is provided only with explicit customer consent.
Prioritize Technical Security
Maintain a secure channel through both primary and secondary stages of the data security process during remote sessions.
Enhanced Administrative Security
Administrators can assign separate IP addresses or groups for access, effectively reducing the risk of hacking.
Get started in secondsConnect Instantly & Initiate The Process
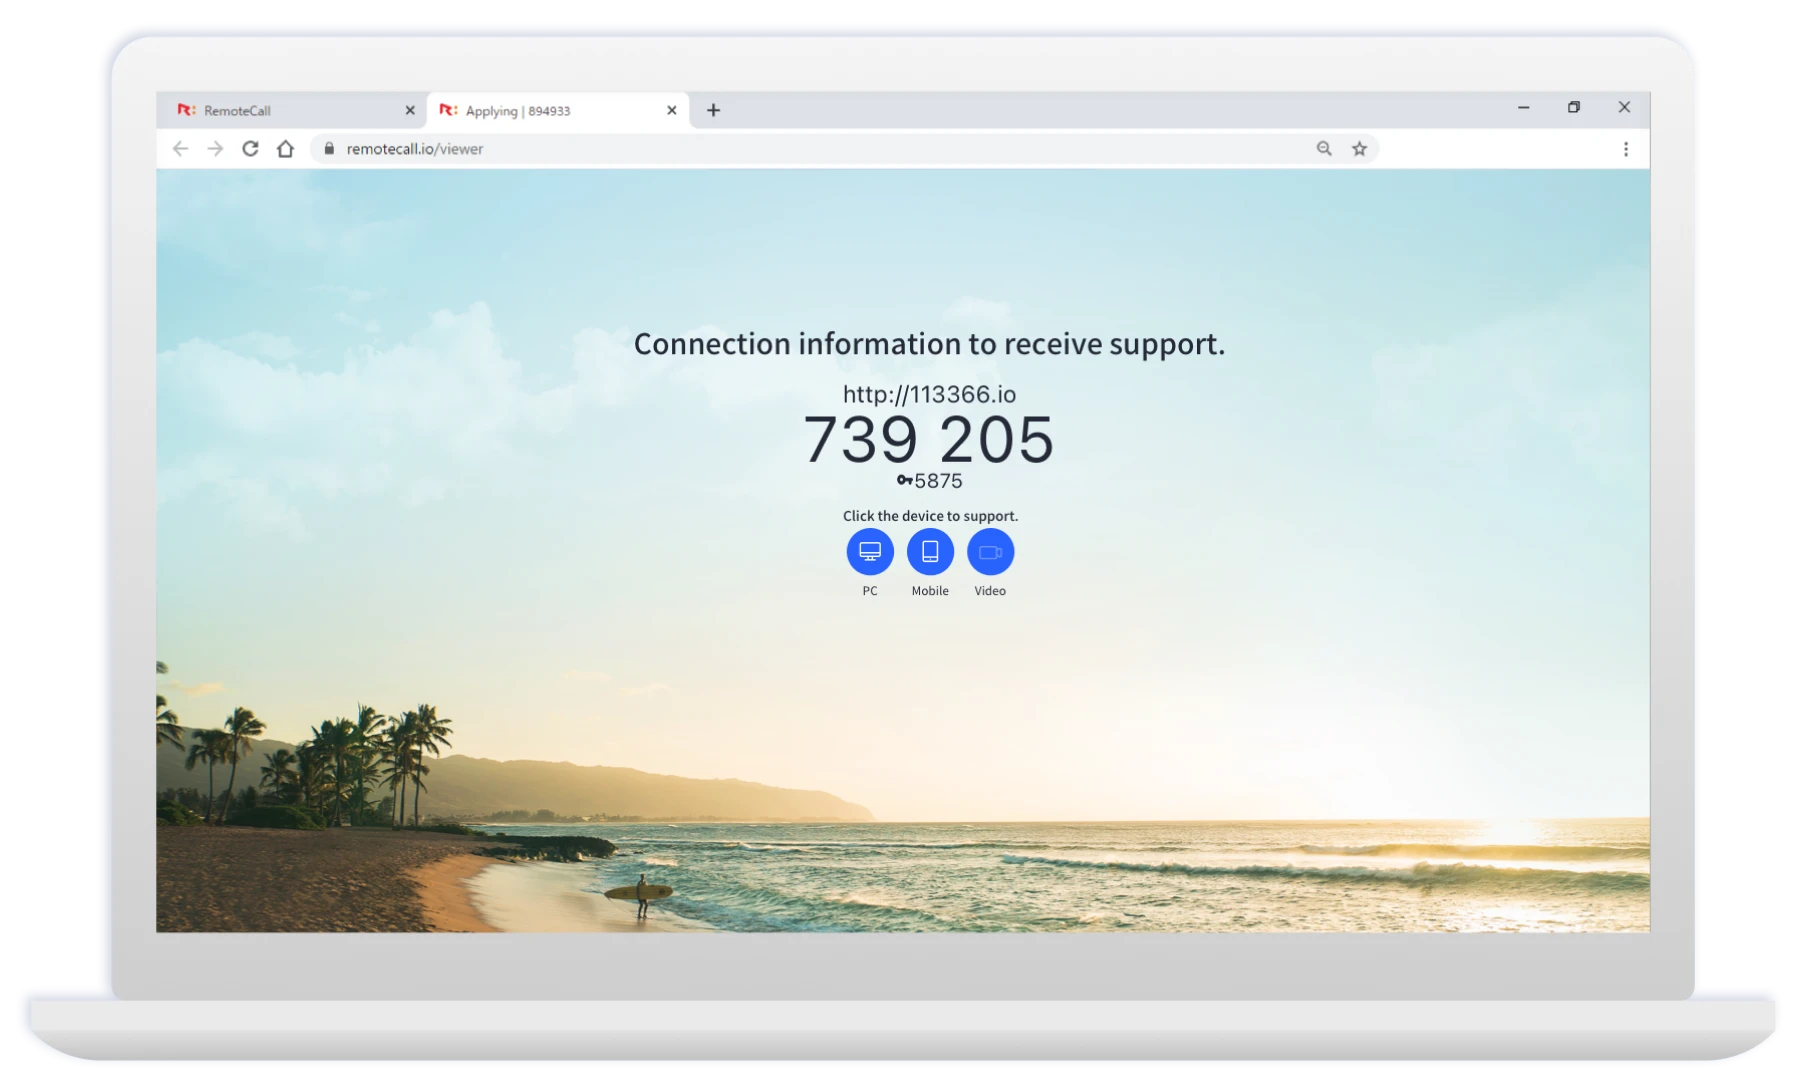
Simply open your web browser,
and you’re all set!
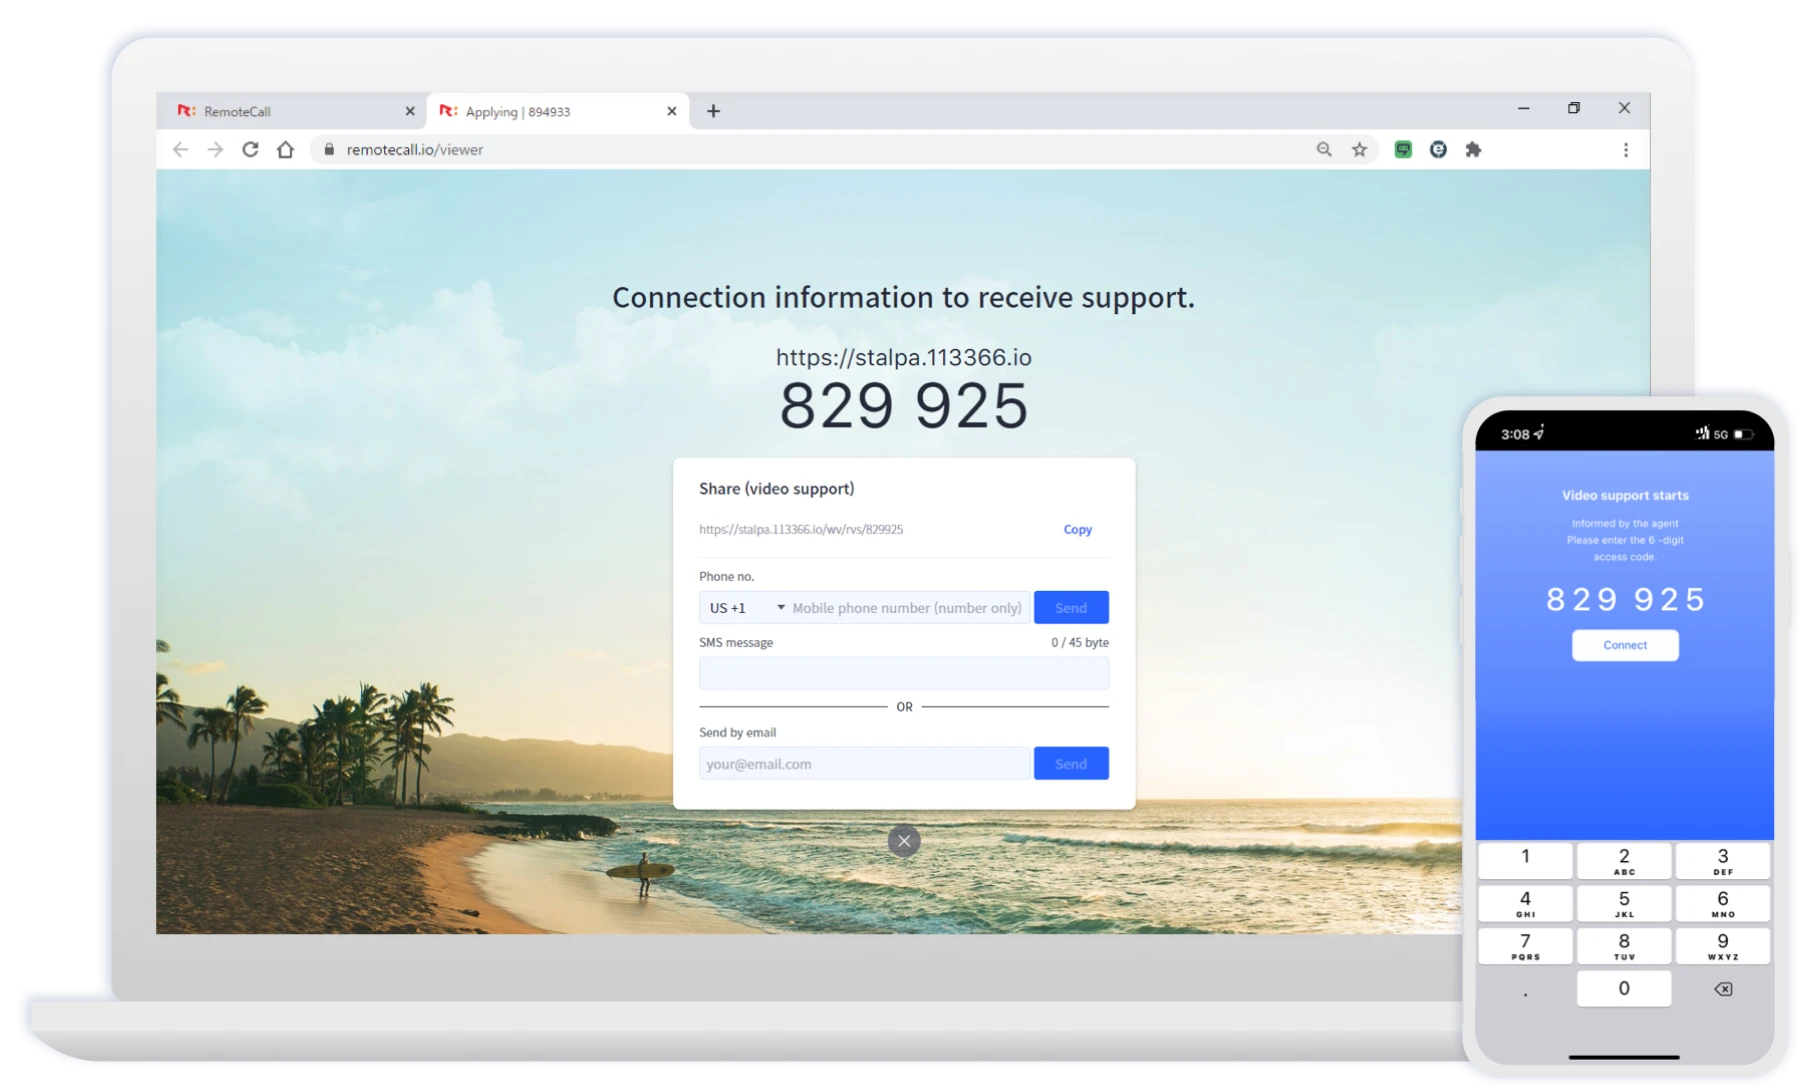
Share the connection link
with a customer*via SMS or email
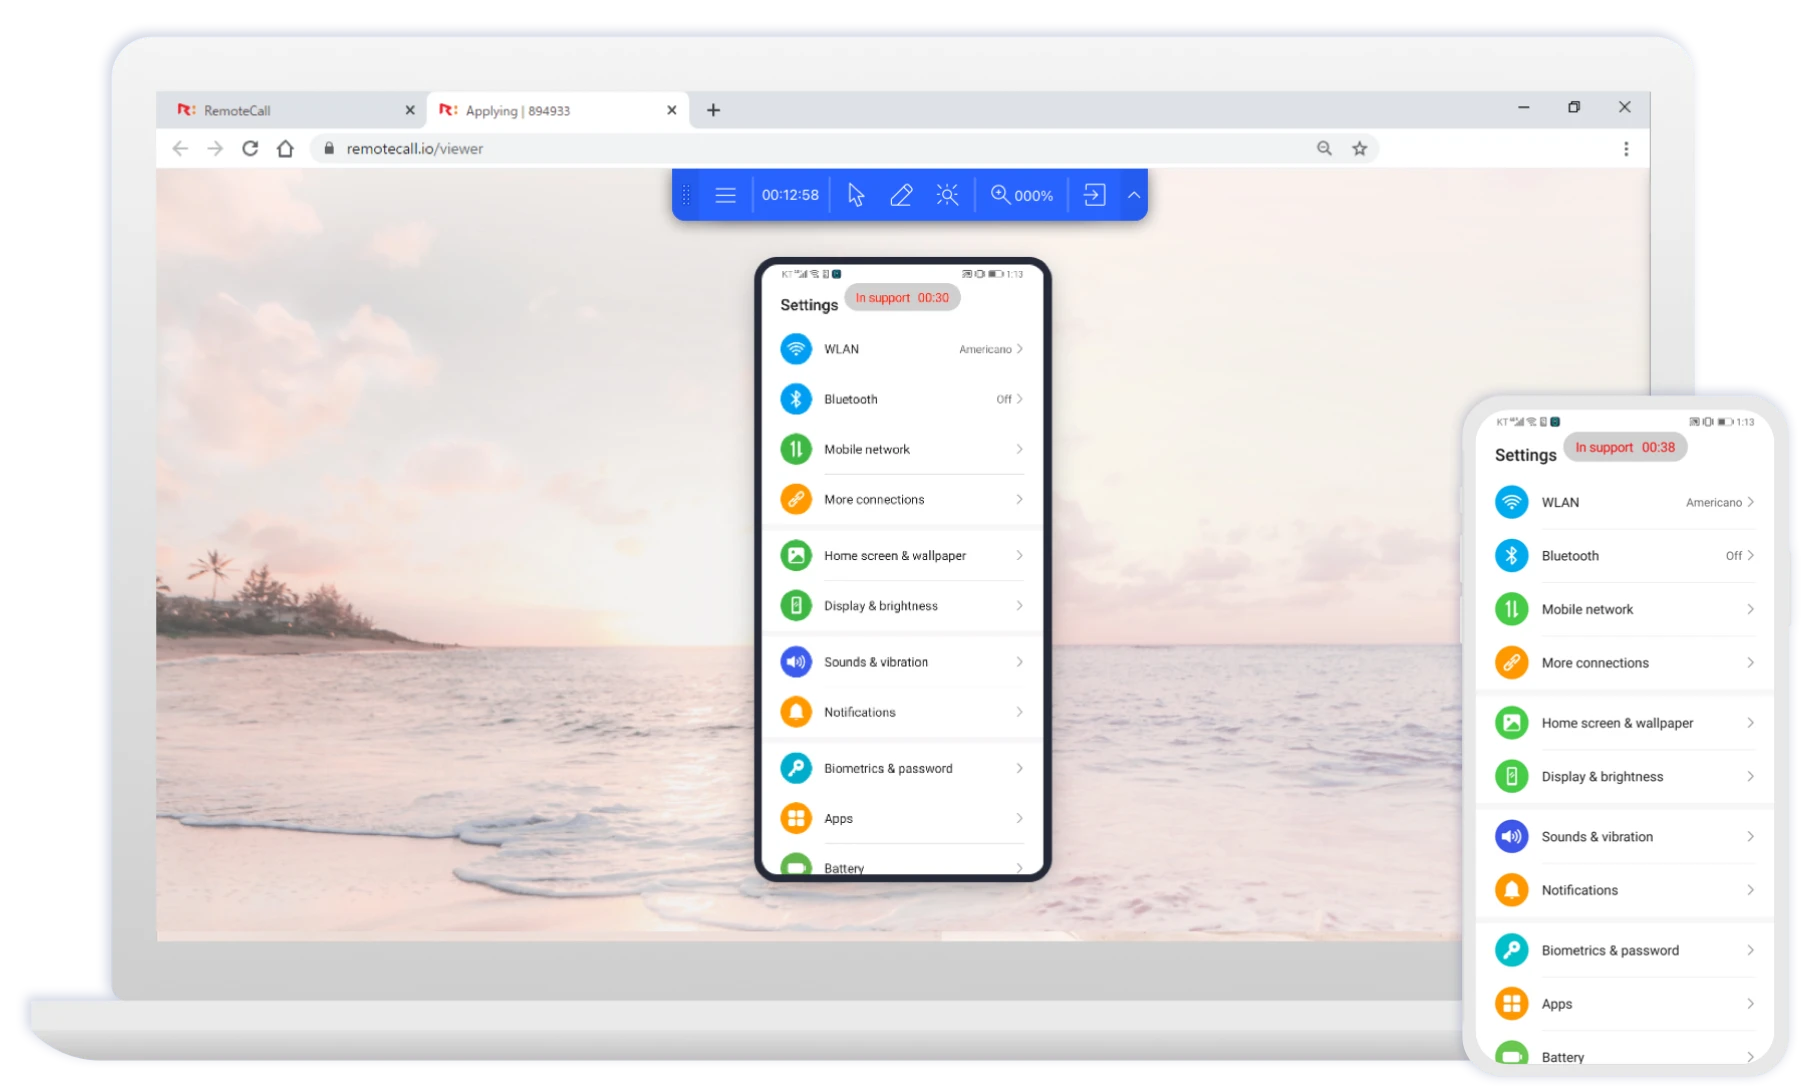
The customer enters a 6-digit code,
and the connection is established!
-
Simply open your web browser,
and you’re all set! -
Share the connection link
with a customer*via SMS or email -
The customer enters a 6-digit code,
and the connection is established!
Easy-to-use and flexible functionalitiesConvenient and User-friendly Features
-

Recording
-

File transfer
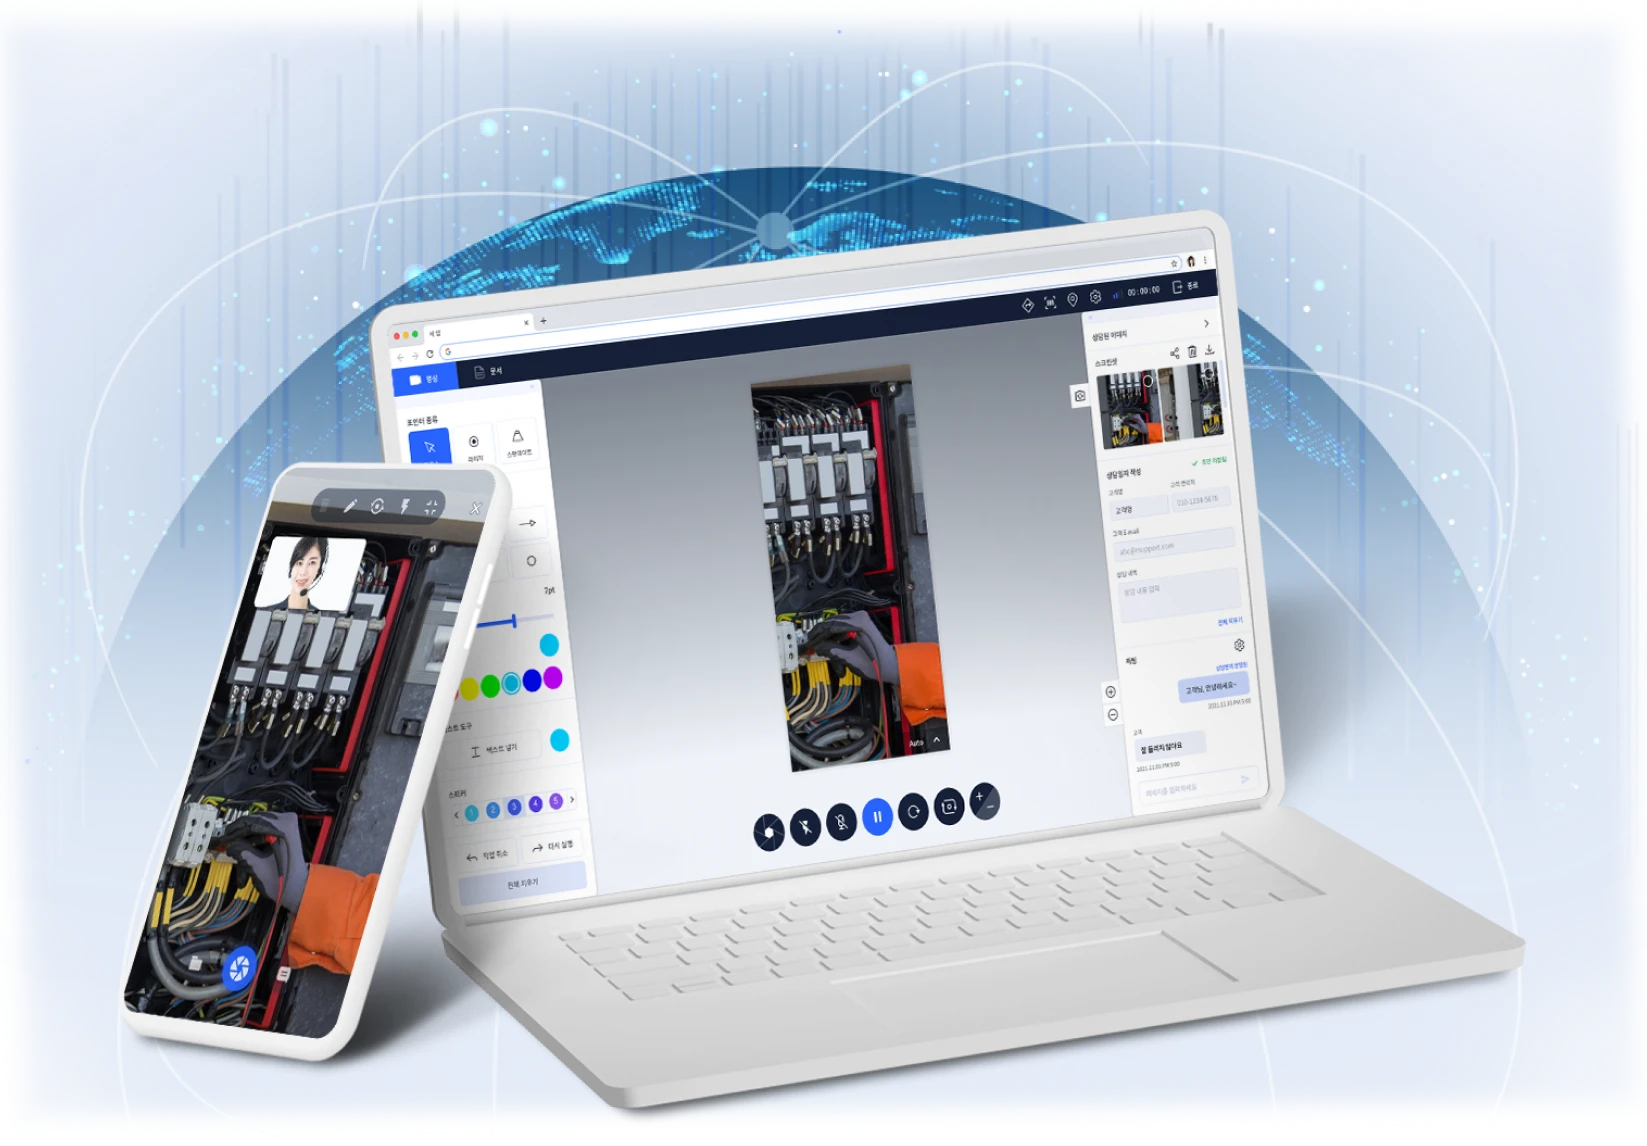
-
Drawing
& laser pointer tool -

Custom
access page -

Text & voice chat
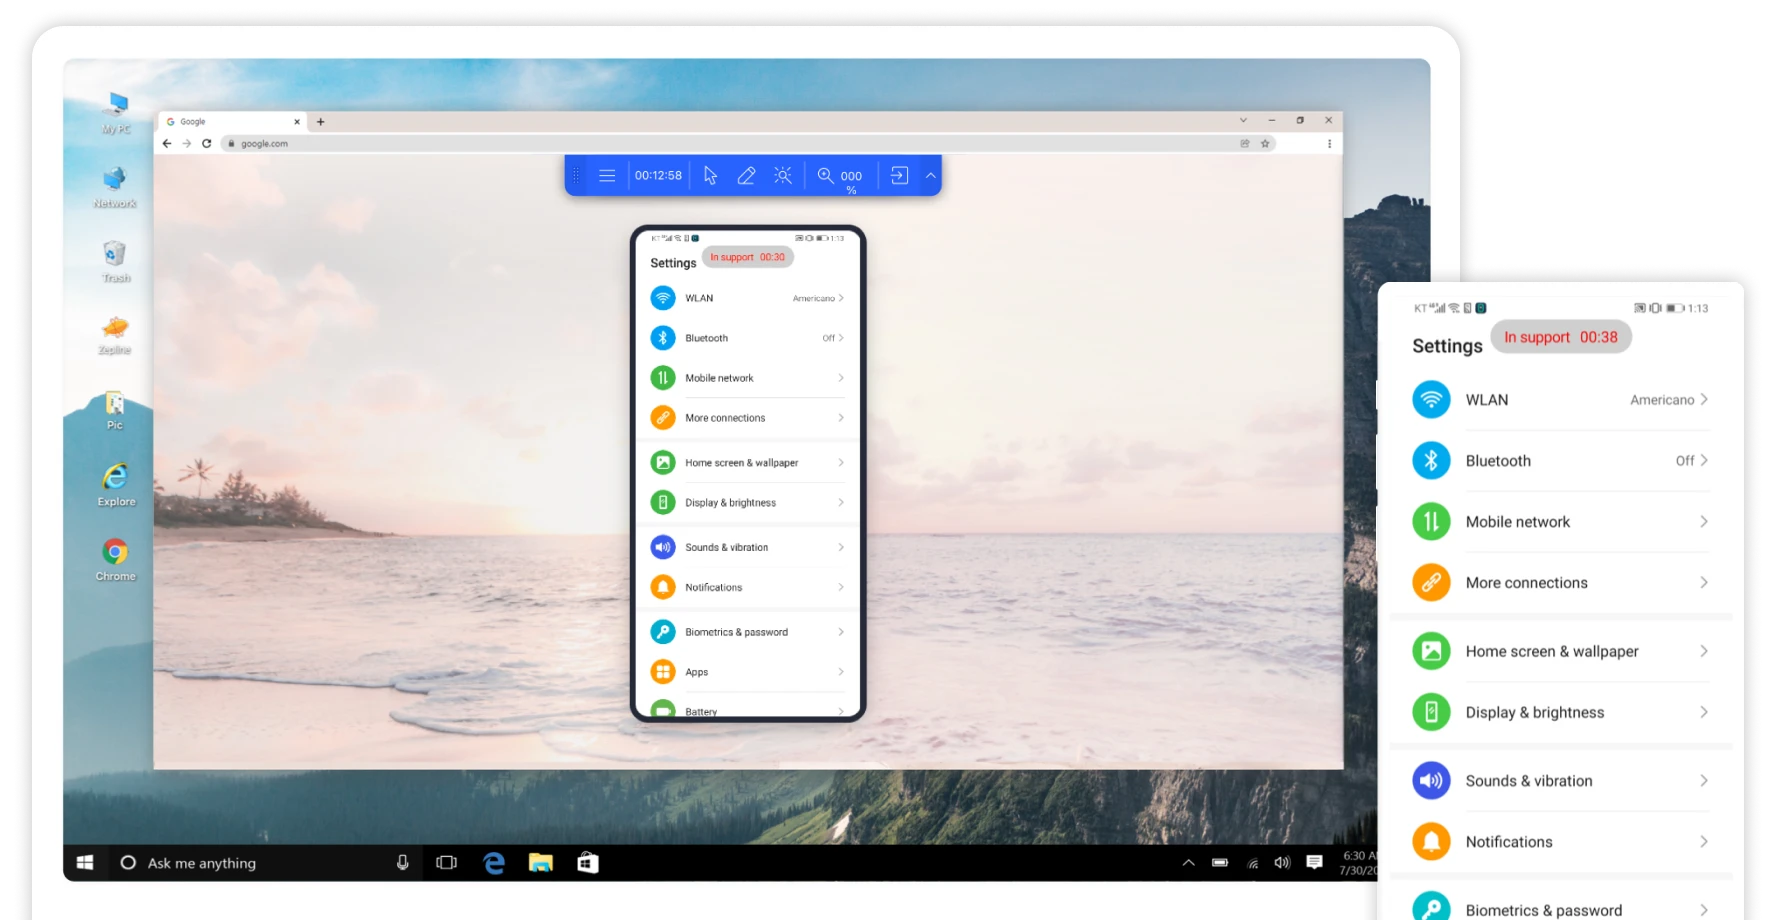
-
Moible
device access -
Remote
camera sharing -

Barcode
& QR code scanning
Sign up for RemoteCall!
Want to dive into the details?
CONTACT US
-
For Sales
-
For Technical Support
-
Operating Hours
Monday – Friday
9 a.m. – 6 p.m. KST